In terms of test cell design, 35 test cells were constructed to asses pathogen removal rates across a variety of depths of sand and two different wastewater distribution methods.
| Cell Depth | Gravity Distribution | Pressure Distribution |
| 5 feet | X | |
| 4 feet | X | X |
| 3 feet | X | X |
| 2 feet | X | X |
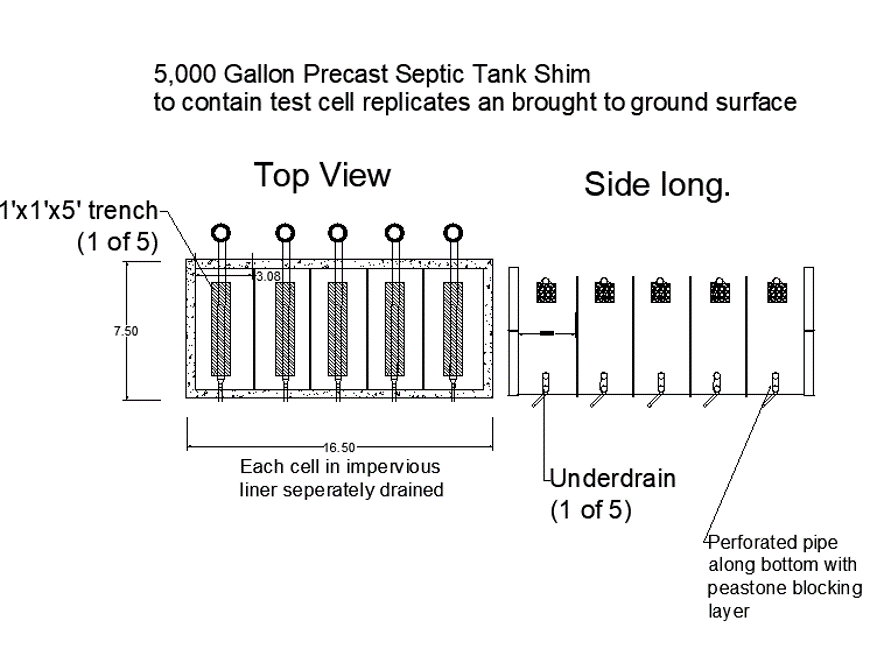
Each of the seven treatments were constructed in quintuplicate to yield a total of 35 test cells. Each test cell is 3 feet wide by 7 feet long and houses a 1 foot wide by 1 foot deep by 5 feet long stone trench.
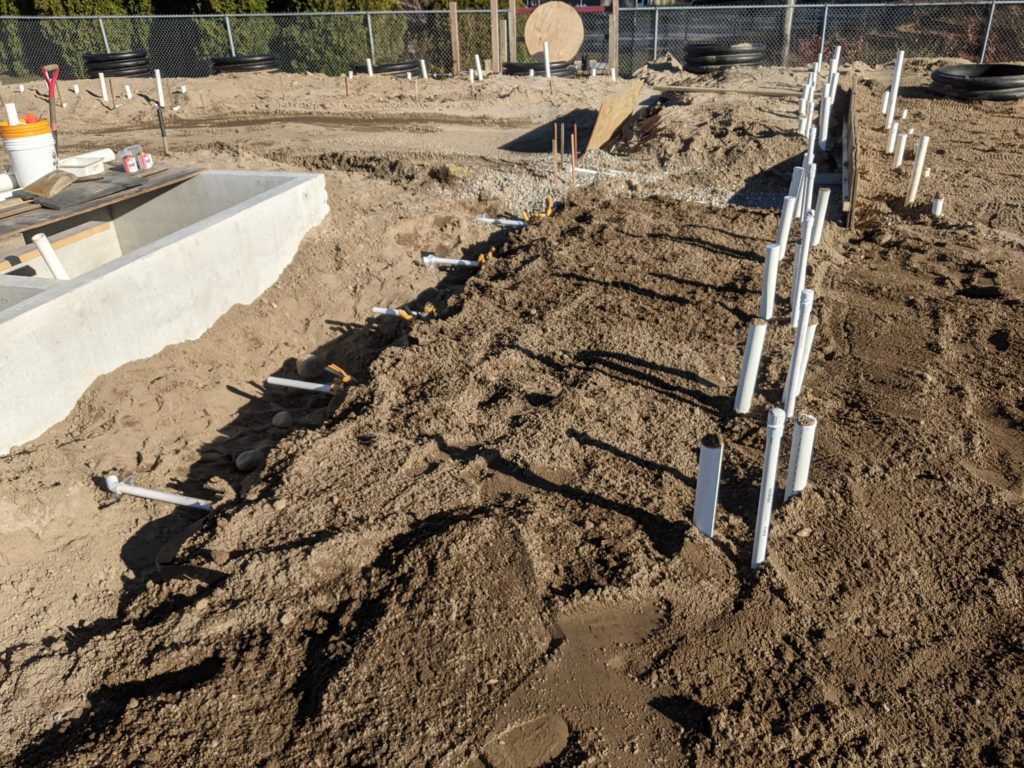
Site Layout
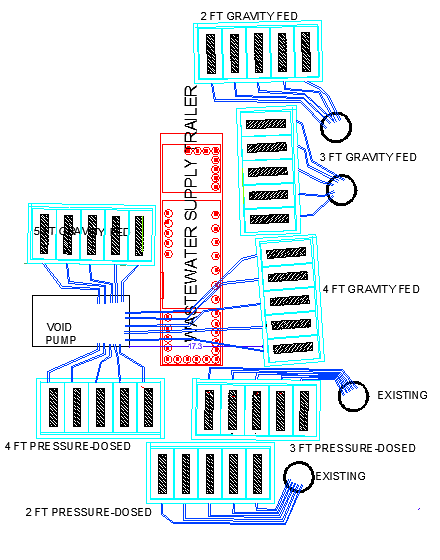
The site was laid out to minimize lengths of pipe between the dosing system and the inlet of the test cell. Where possible, existing infrastructure was used to save cost.
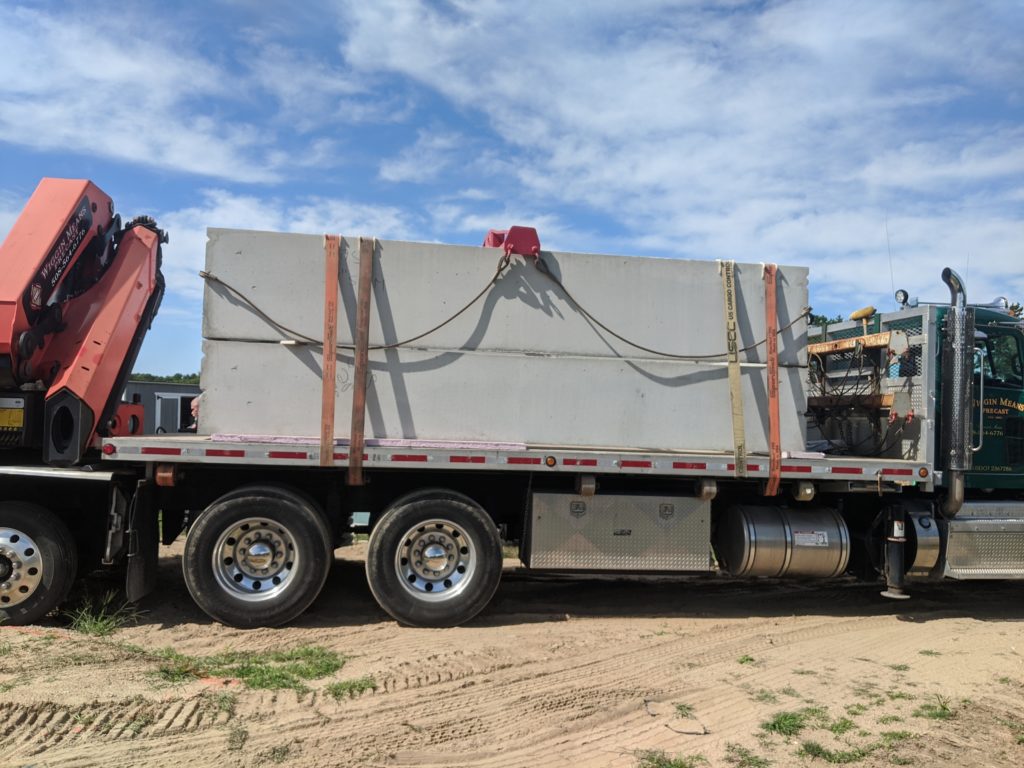
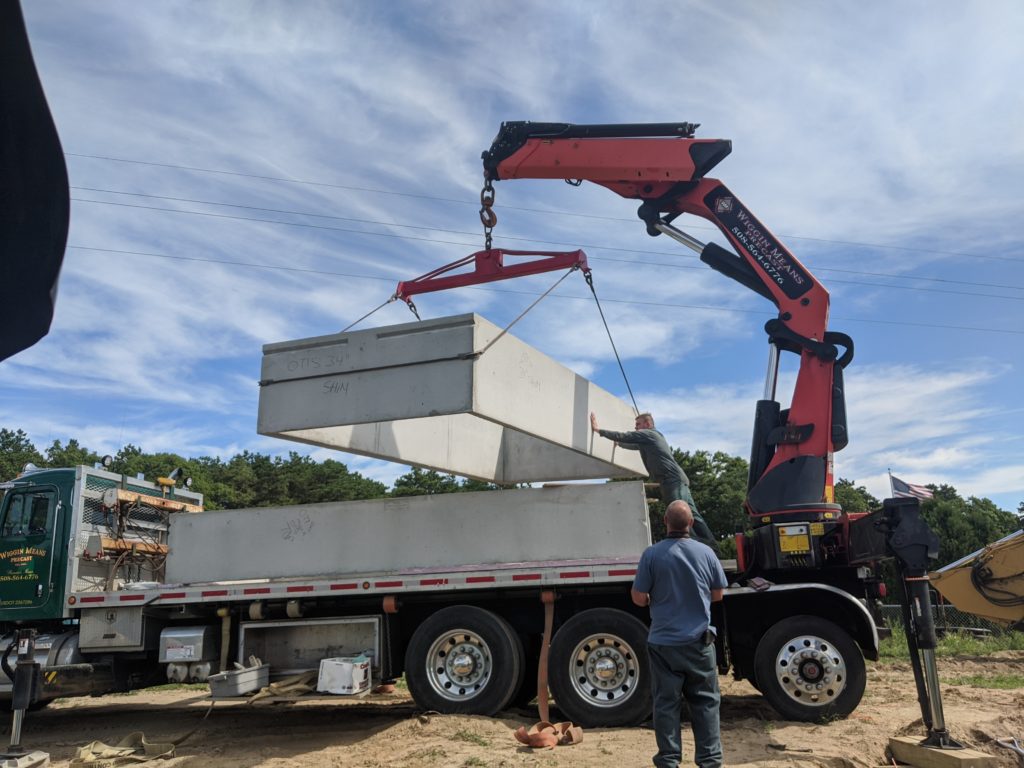
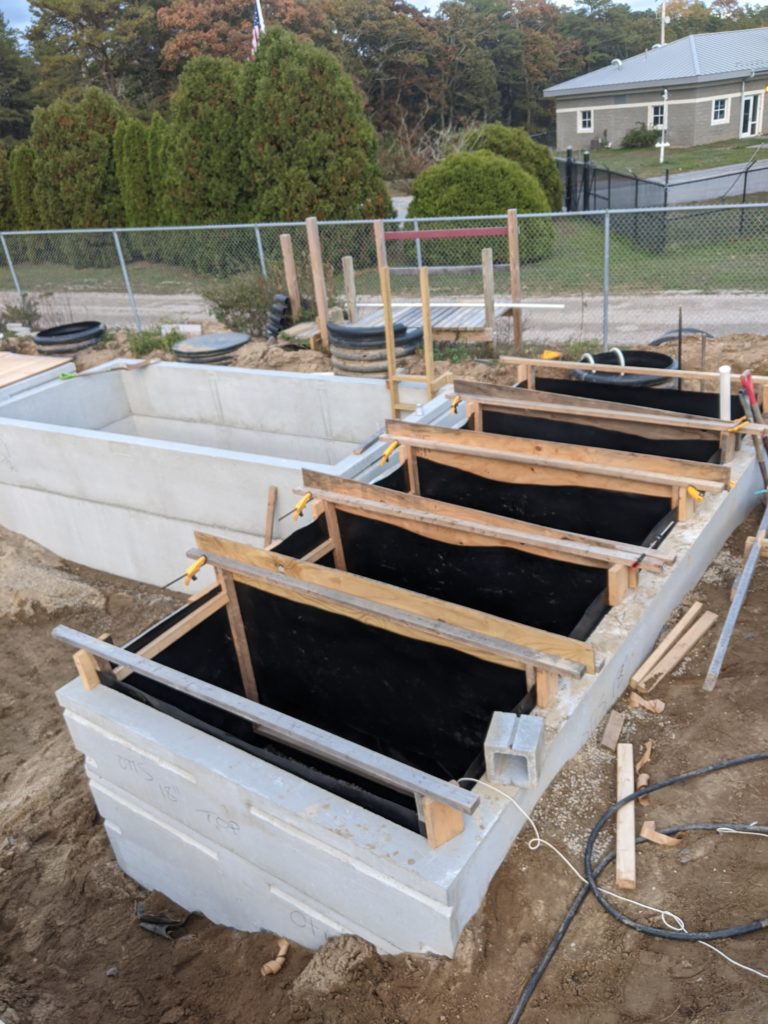
Test Cell Construction
Test cell construction began with the arrival of the concrete tank and first set of tank shims. The shims were installed in three phases to make piping and filling of each cell easier.
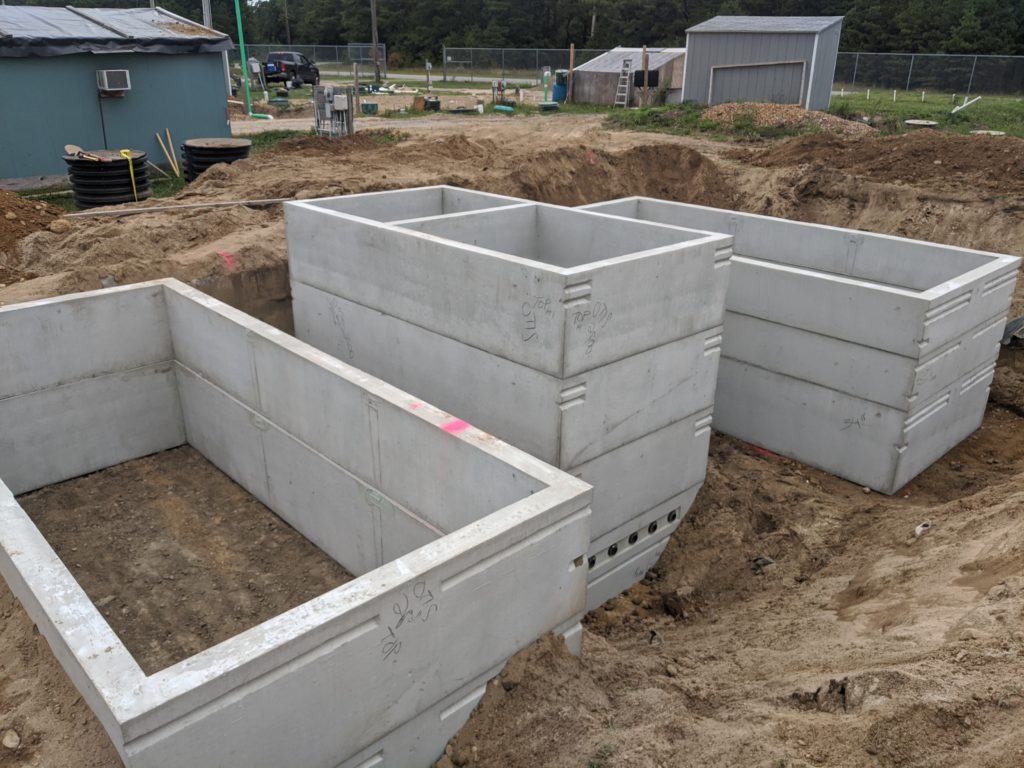
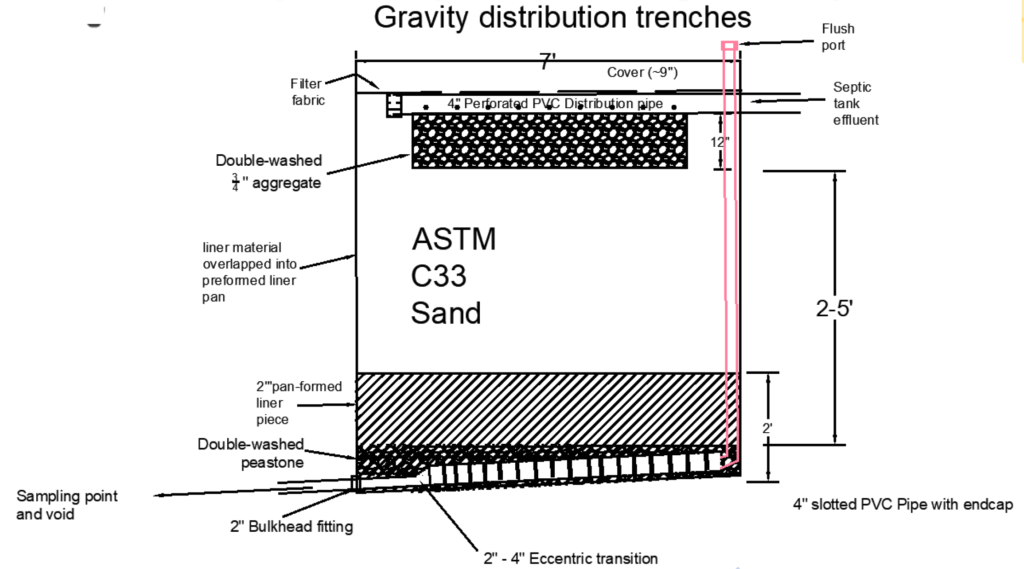
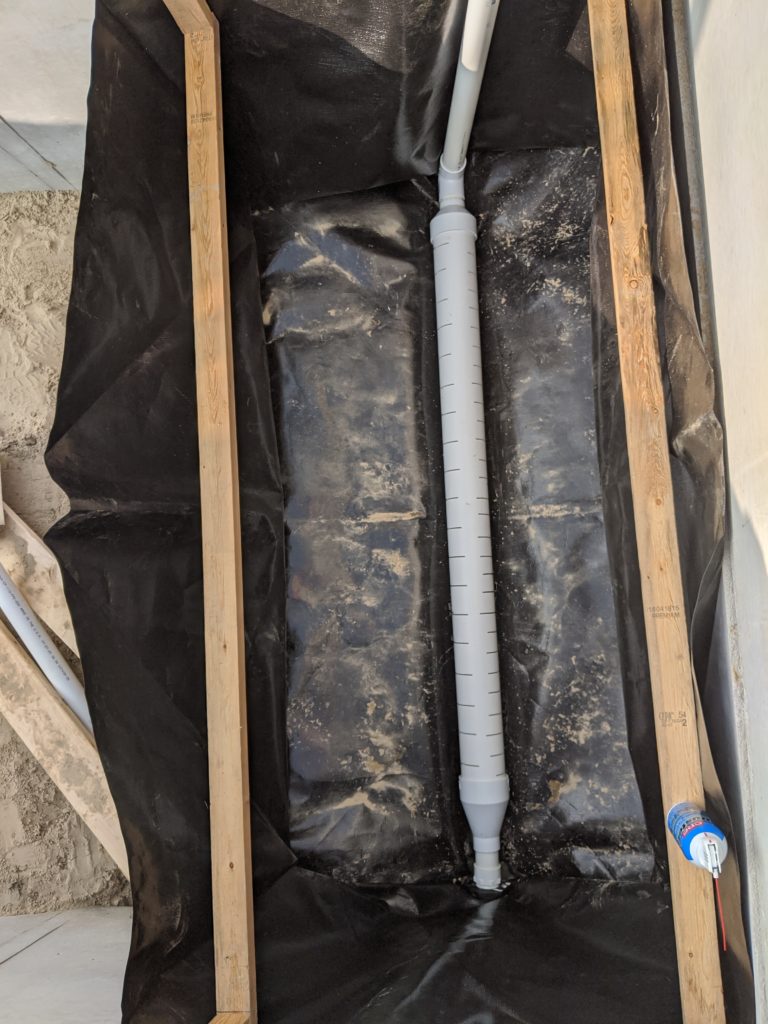
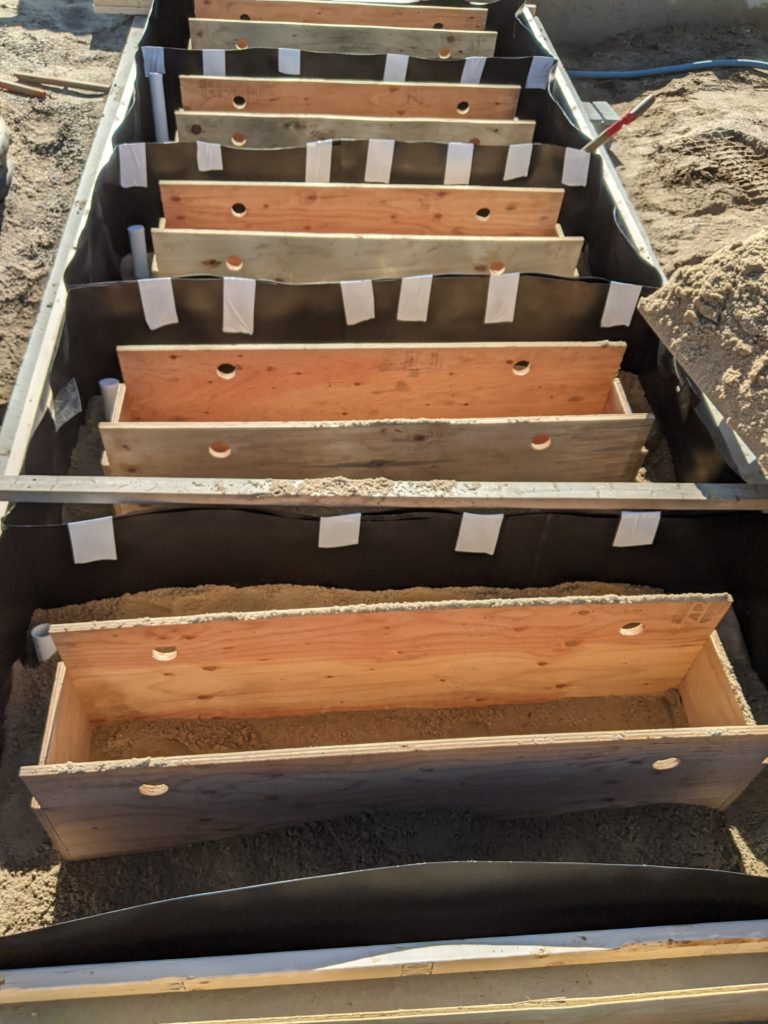
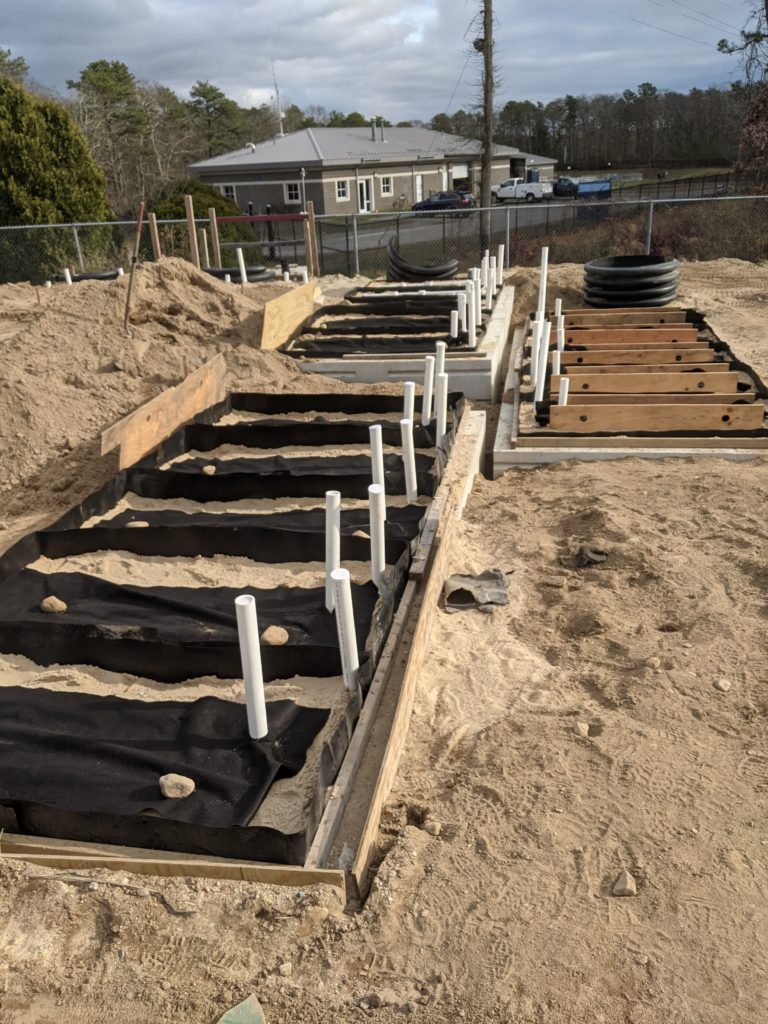
The next step was to lay out the individual test cells. First, the bottom of each cell is graded so that the drain pipe in the bottom slopes toward the discharge and that the sides of each cell slop toward the drain pipe. Next, a preformed liner is laid down, with a temporary wood frame to hold up the sides. A section of slotted 4-inch PVC pipe is set in the bottom and connected on one end to a cleanout standpipe and on the other end to a discharge pipe.
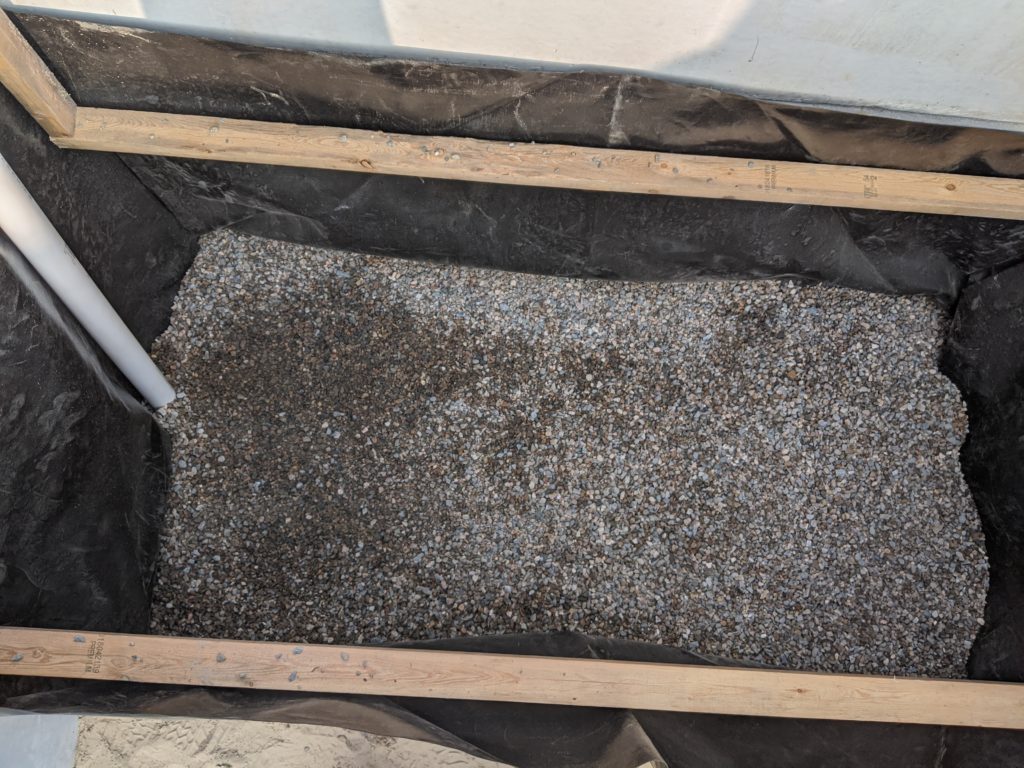
Filling the Test Cells
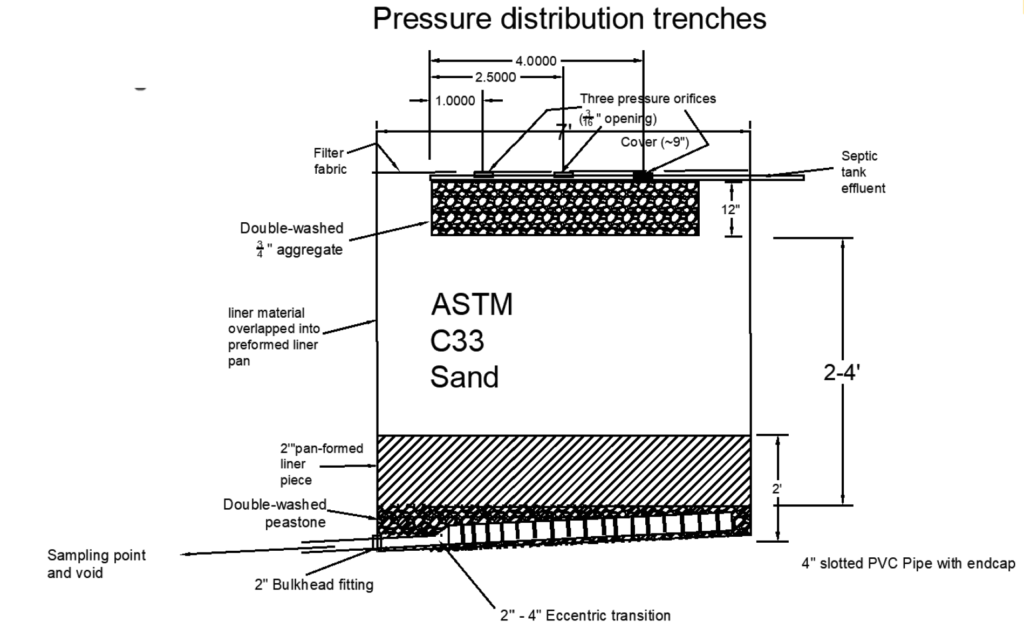
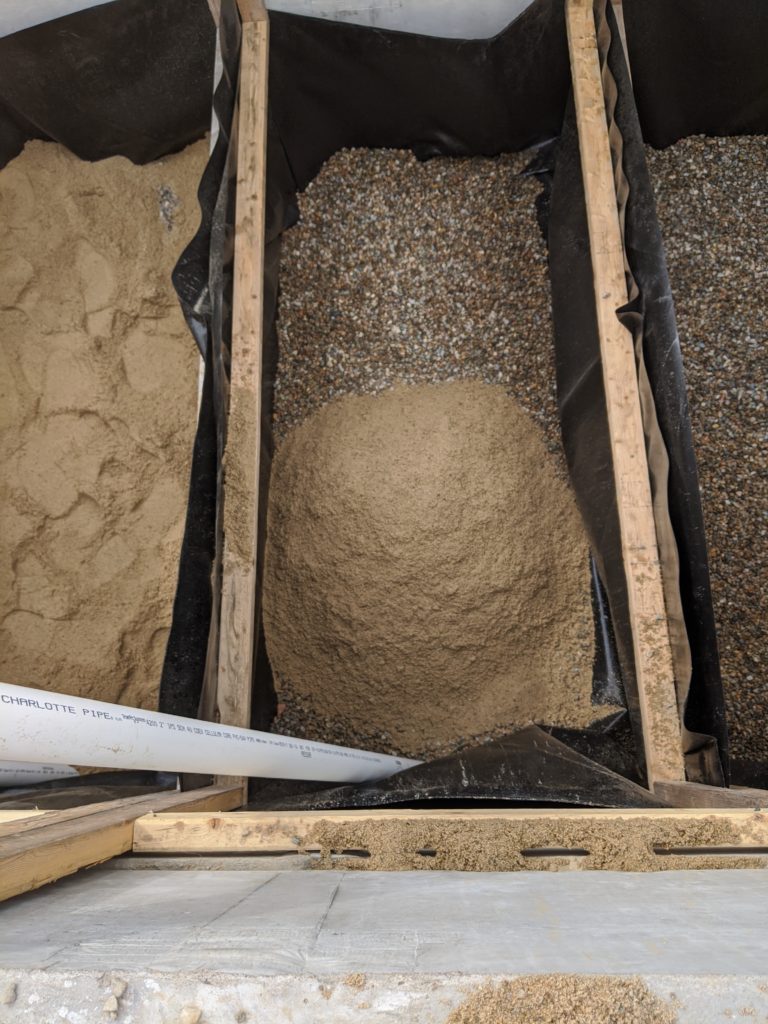
With completion of cell assembly, the cells are filled first with a layer of washed peastone. The peastone performs two functions: 1) to provide a level surface for the sand and 2) provide a quick path to the drain pipe for liquid exiting the bottom of the sand.
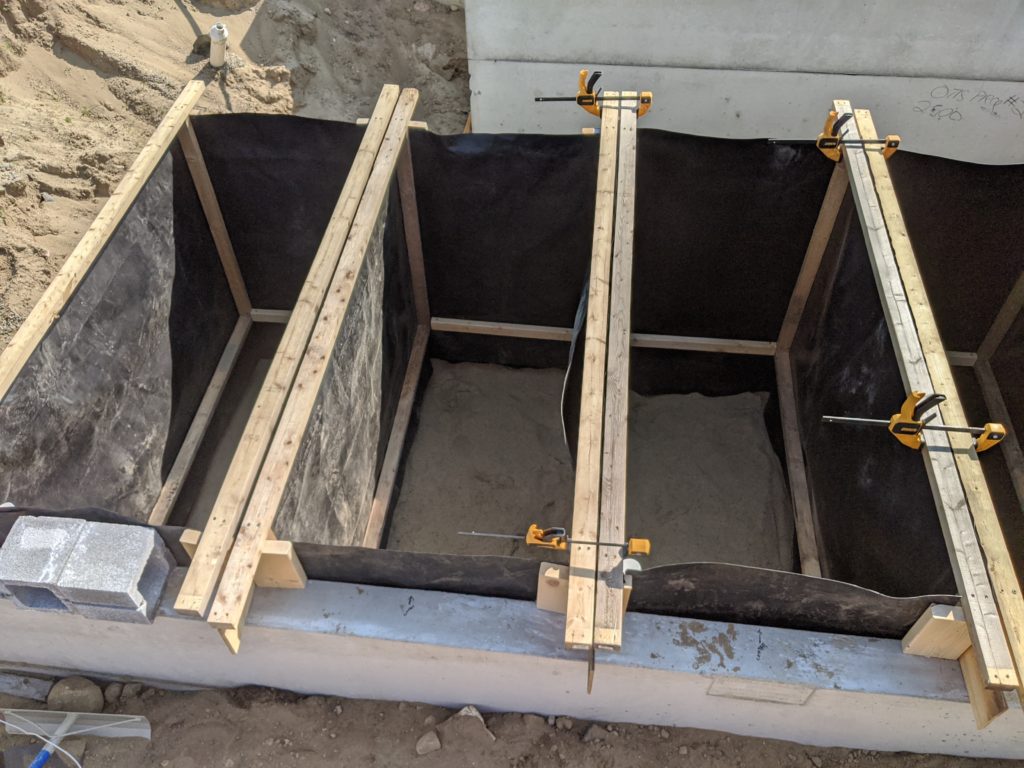
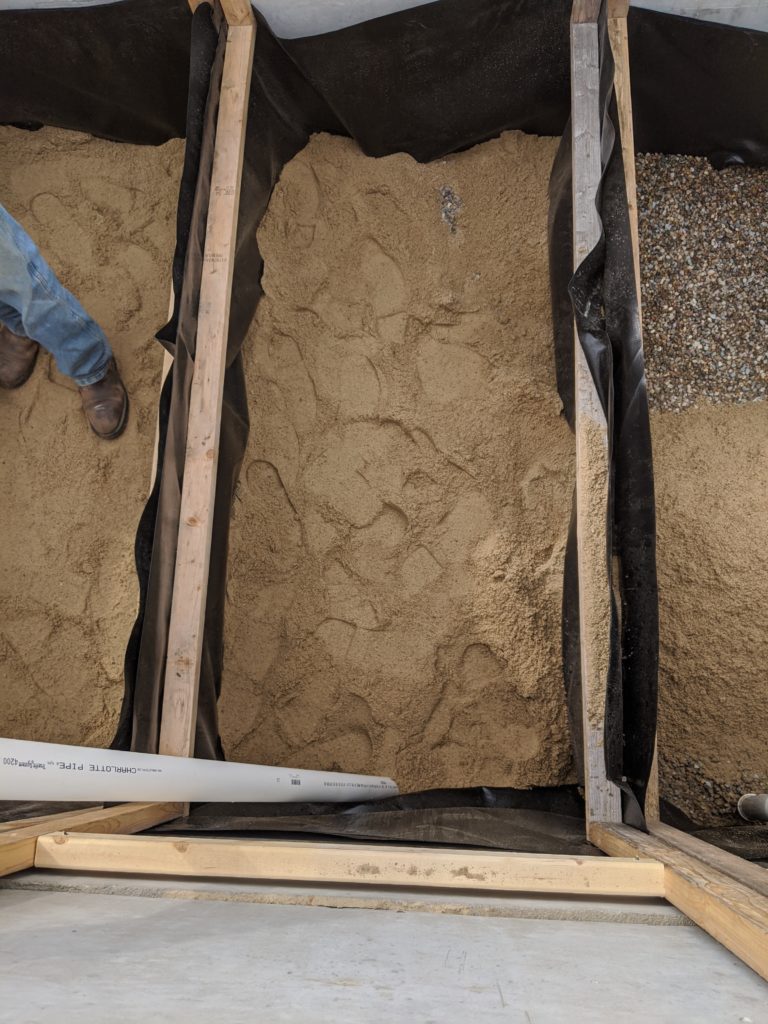
Next, sand was added to each cell in 3-4 inch lifts and compacted. Once each cell was filled with sand, the supporting frames were removed.
Construction of Trenches
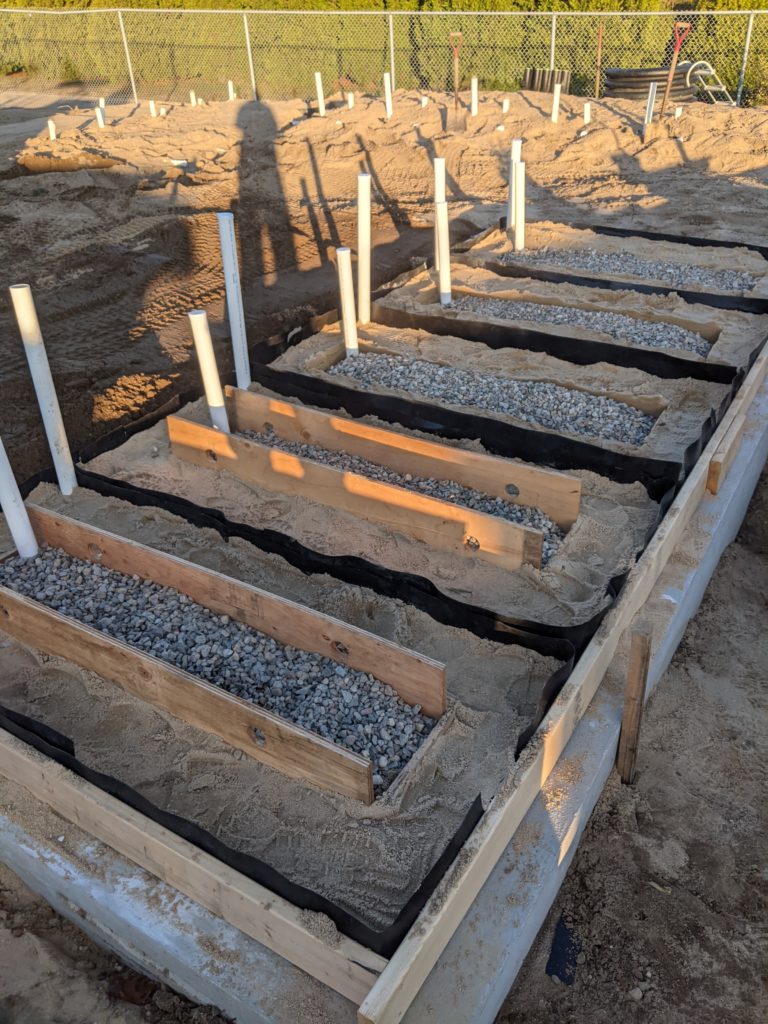
After each cell was filled to the appropriate depth of sand, the 1’x1’x5′ stone trenches were laid on top using a plywood form. after filling and compaction, the forms were removed.
Trench Piping
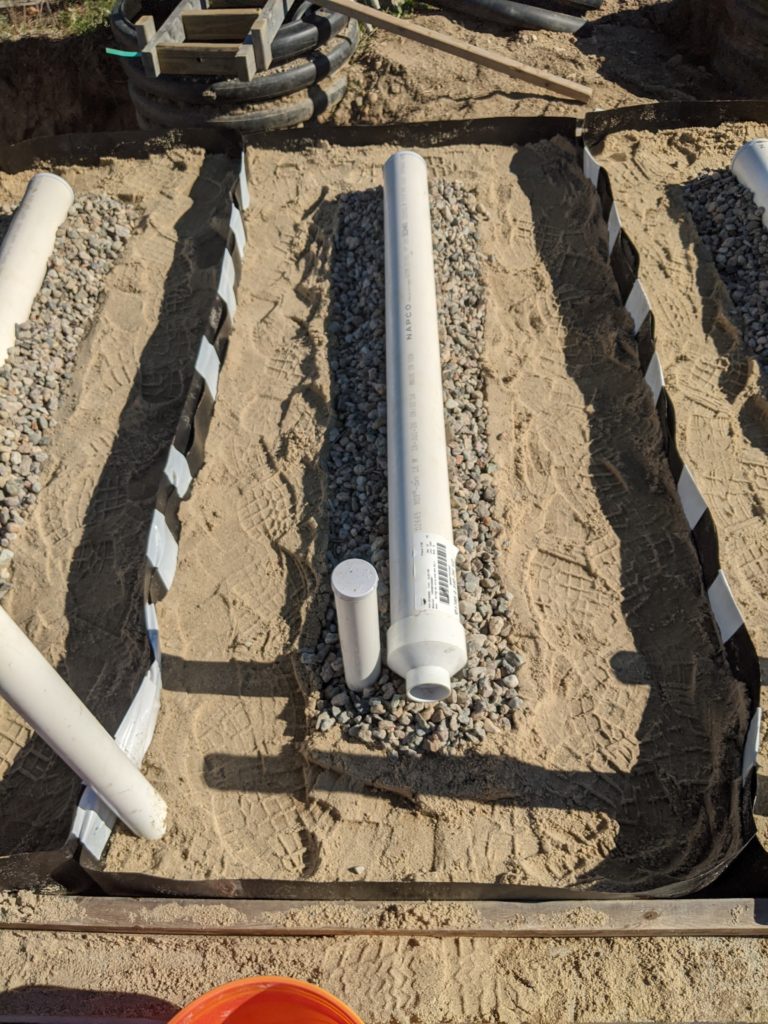
The requisite distribution piping was then laid on top of each stone trench. 4″ perforated PVC pipe was used for gravity distribution, and 1″ PVC pipe with three orifices and Orenco orifice shields were used for pressure distribution. Geotextile fabric was laid on top of the distribution piping, then 9 inches of final cover was spread over all test cells.
Final Cover
After test cell completion, the entire area was covered in a ~9″ layer of sandy loam and topsoil, with grass seeded the following spring (2021).

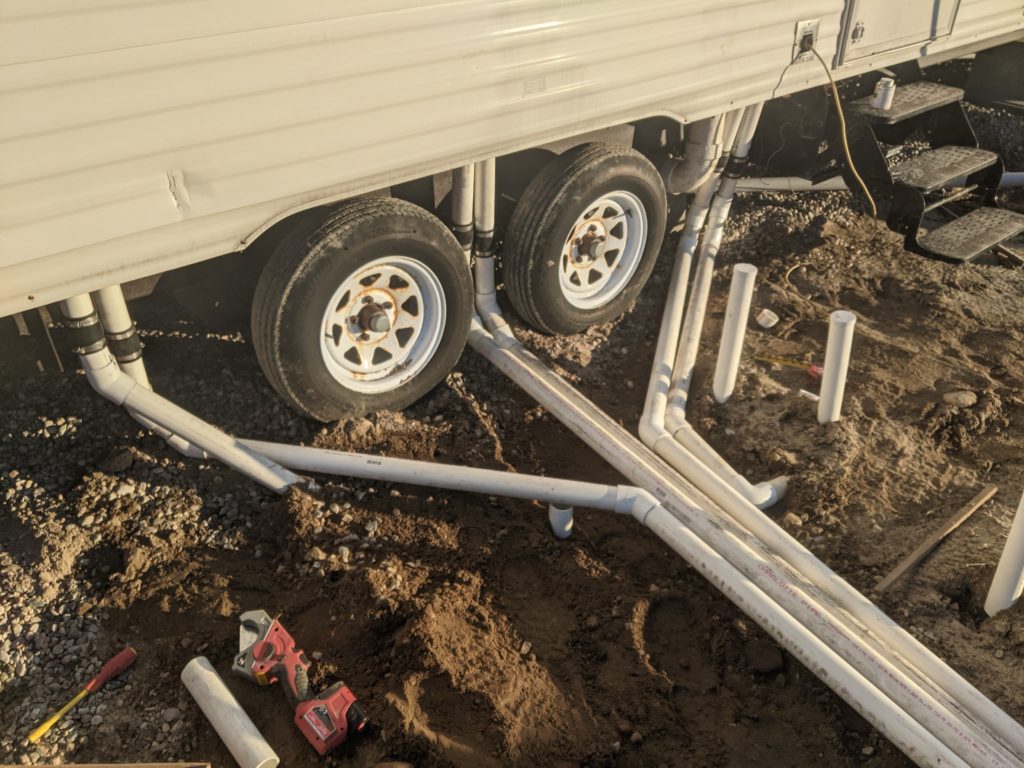
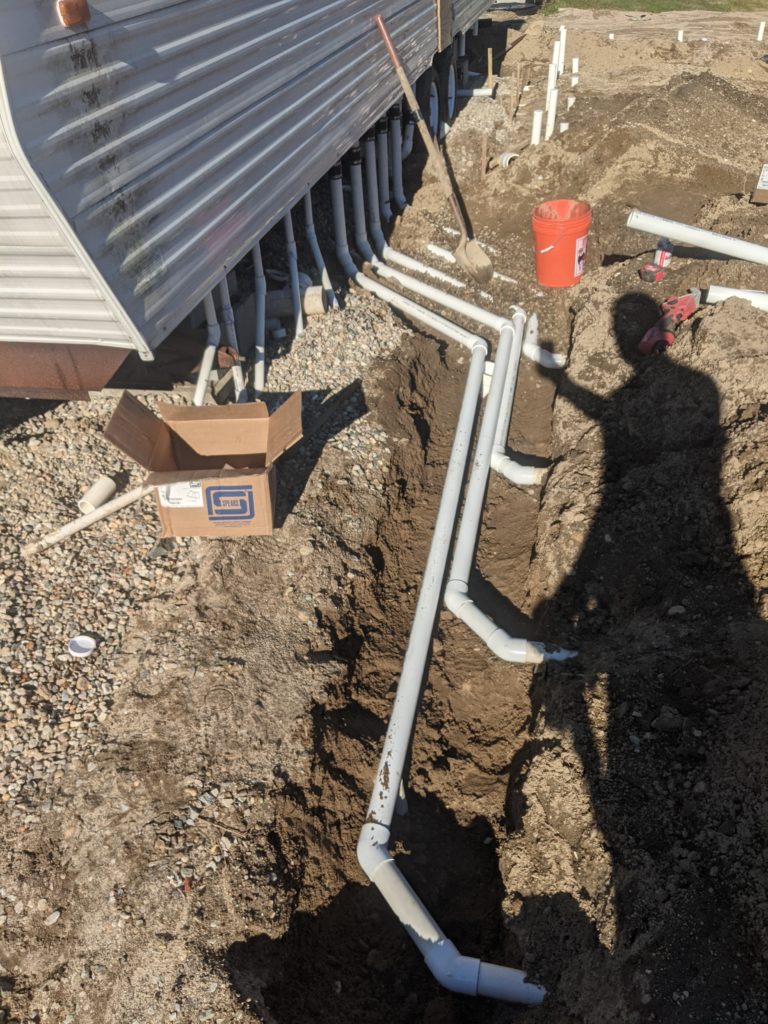
Dosing Trailer
Once the site was ready, the dosing trailer was moved into place and piped in. Find out more about the dosing trailer.
Next Steps
Next steps as of January 26, 2021:
- Finish off sample collection locations
- Test everything